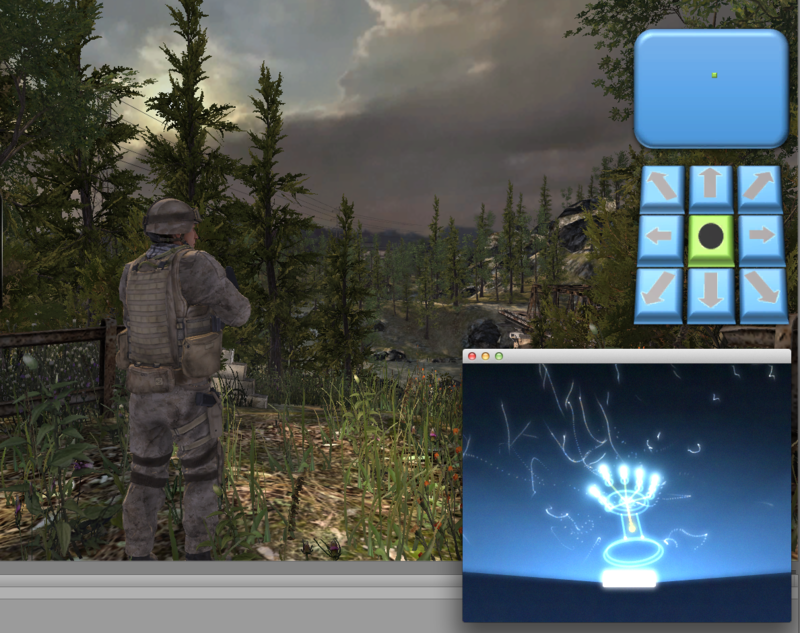
LeapMotionとUnity連携 2
http://pierresemaan.com/leap-enabling-the-unity-3d-bootcamp-demo-step-by-step-leap-hud/
のステップを抜粋。
Step 1 Create a new project.
Step 2 Make sure that the Bootcamp Scene is working properly
Step 3 (Optional) Rename the Bootcamp scene so you can experiment
Step 4 Create a Plugins folder under the asset directory
Step 5 Copy the Leap Files from UnityAssets in the SDK to your Plugins Directory and root directory
Step 6 copy LeapUnityExtensions.cs to the Plugins folder
Step 7 copy pxsLeapInput.cs to the Plugins folder
Step 7 a (optional) examine the pxsLeapInput Script
Step 8 Modify SoldierController.js script to allow for Leap Input
Step 9 Modify SoldierCamera.js script to allow for Leap Input
Step 10 (Optional) Create a Leap Navigation HUD to visualize Leap Input
Step 11 Enable Leap Input
Step 12 Play
抜粋してみたものの、どれぐらい難しいのか想像つかない。。
とりあえずやってみよう!
まずは、
Step 1 Create a new project.
いきなりつまづく。
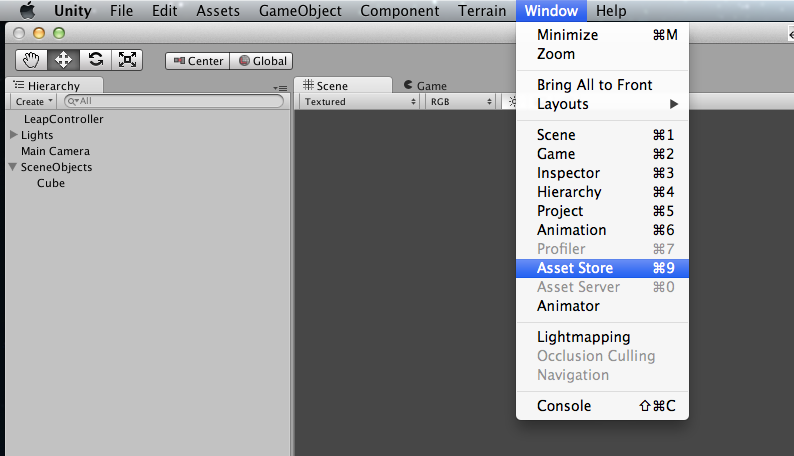
UnityでAssetStoreが開けない。。
ここにあった。
bootcamp。
検索ですぐに見つかった。Oh, it's Free!!
Downloadボタンを押して、
Importボタンも押したら、、、
あ、開いてたプロジェクトにインポートしちゃったよ。。
Unity再起動して、NewProjectを作成。
LeapEnabledBootcamp
BootcampをImportして、Run!
あれれ、真っ青なだけの画面。。
画面下半分の、Projectウィンドウから、Bootcampのunityファイル?をダブルクリック。
お、Bootcampが動いた!
これで、
Step 2 Make sure that the Bootcamp Scene is working properly
も終了だ。
★ここで、Unityのシーンとは何?
Unityでのシーンとはどういうポジションにあるのか? から 書くと
Project(全てのコンテンツがここに入っています)
|-Scene1
|-Hierarchy
|-Scene2
|-Hierarchy
1つのプロジェクトに、複数のシーンがあるのか。
Step 3 (Optional) Rename the Bootcamp scene so you can experiment
はスキップ。
Step 4 Create a Plugins folder under the asset directory
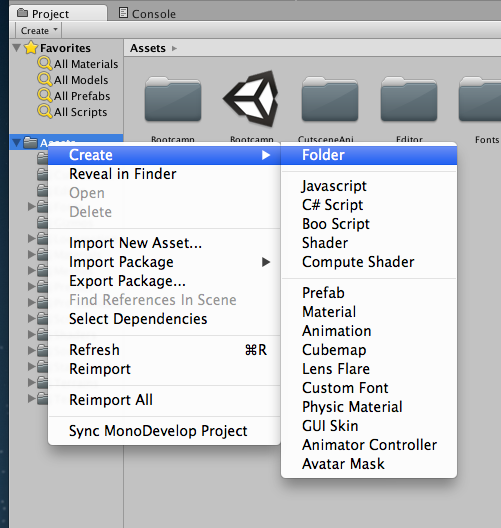
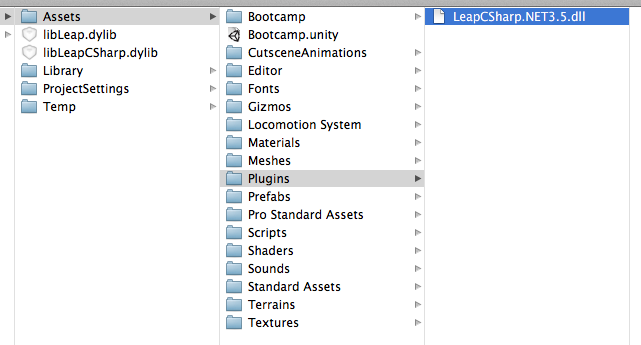
Step 5 Copy the Leap Files from UnityAssets in the SDK to your Plugins Directory and root directory
Unity Freeを使っている場合は、以下をコピー。
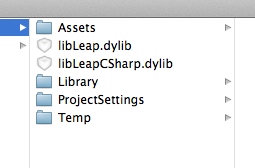
・Leap.dll と LeapCSharp.dllを、自分のアプリのルートディレクトリへ
→この2つは見つからなかったので、代わりにlibLeap.dylib と libLeapCSharp.dylibをコピー。
・LeapCSharp.NET3.5.dllをPluginsディレクトリへ
Step 6 copy LeapUnityExtensions.cs to the Plugins folder
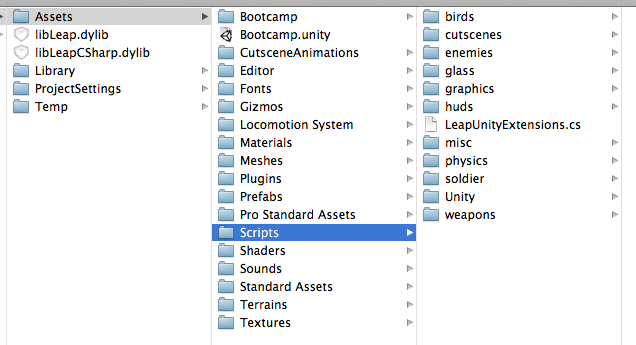
↑これは間違い。Scriptsフォルダではなくて、、、
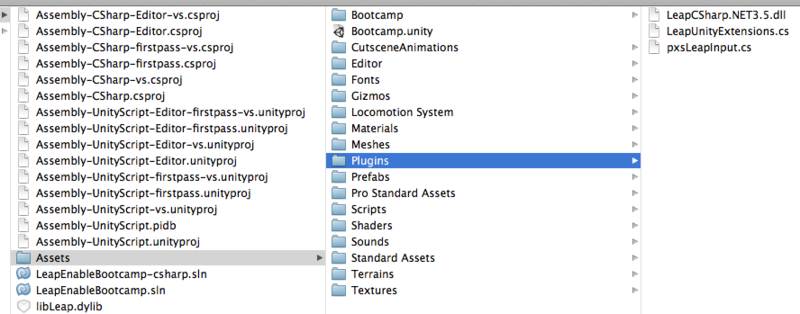
pluginsフォルダーだった。
Step 7 copy pxsLeapInput.cs to the Plugins folder
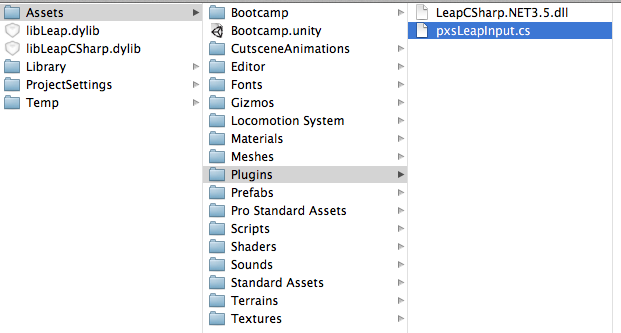
Step 7 a (optional) examine the pxsLeapInput Script
スキップ
Step 8 Modify SoldierController.js script to allow for Leap Input
ここで、Leap用のカスタマイズ。
SoldierController.jsを改造する。
Step 9 Modify SoldierCamera.js script to allow for Leap Input
SoldierCamera.jsを改造する。
Step 10 (Optional) Create a Leap Navigation HUD to visualize Leap Input
スキップ
Step 11 Enable Leap Input
Soldierシーンを選択して、LeapEnabledをする。
Soldierカメラシーンを選択して、LeapEnabledをする。
これがわからん。。
ビルドもエラー出てるし。。
Assets/Scripts/soldier/SoldierCamera.js(141,25): BCE0044: unexpected char: 0x200B.
Assets/Scripts/soldier/SoldierController.js(219,17): BCE0044: unexpected char: 0x200B.
& がいけないらしい。
でも直してもエラーが消えない。なぞのエラー。
結局このエラーの原因は不明なまま。
https://github.com/Pierresemaan/LeapEnabledBootCamp
からソース一式をダウンロードして実行。
・libLeap.dylib と libLeapCSharp.dylibをrootディレクトリにコピー
をやったら動いた!
